Love by Layers: 3D Printing a Valentine's Rose

This Valentine's Day, we're sharing a unique and effective post-processing technique for crafting a Valentine's Rose, hoping to inspire you to create your own DIY heat-formed gift.

The thinness of the petals allows for easy manipulation, yielding an organic-looking flower through the heat forming process. Quick action is needed as the petals begin to "wilt," but minor adjustments can be made with additional heat. We suggest printing extra petals for your initial attempt to accommodate any losses during experimentation with temperatures and techniques.
Check out this short video and see below for more information.
Steps:
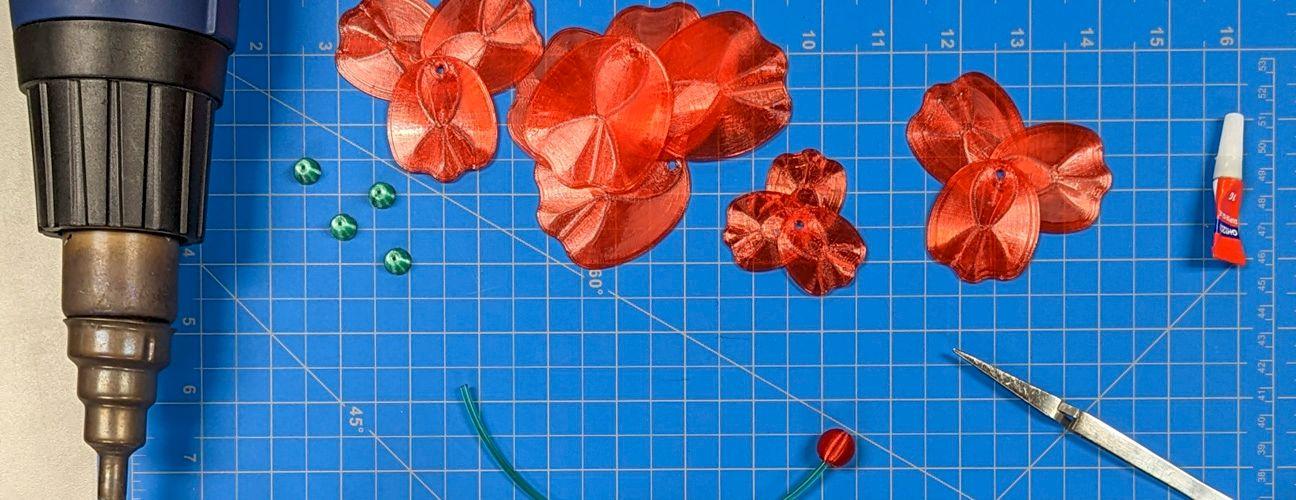
1. Print the Flower Parts: Download the files linked at the bottom of the article. We used Taulman T-Glase filament for transparency with a 0.3mm layer height, although standard PLA is also suitable.2. Gather Materials and Tools: You'll need the 3D printed flower parts, a strand of 2.85mm filament, gloves, a heat gun (or a hairdryer), tweezers, superglue (as needed), and clear coat spray (optional).

3. Assemble the Core: Attach the 3D printed bead to one end of the filament strand using a small amount of superglue.
4. Shape the Petals:
-Start with the smallest petal.
-Use tweezers to hold it and apply heat until it begins to deform.
-While still hot, place it on the filament strand, wrapping it around the bead, ensuring the petals slightly overlap.
-If the petal cools too quickly, gently reheat to adjust. Avoid overheating the filament strand.
5. Repeat for Remaining Petals:
-Continue the heating and forming process for each petal. Use caution to avoid burns.
-Place medium-sized petals without completely covering the center, leaving them slightly open.
-Add large petals last. If possible, invert the flower on a table to help keep these petals open and shape their edges.
6. Customize Your Flower: Add more petals as desired for larger flowers. A suggested starting point is 3 small, 6 medium, and 5 large petals.
7. Final Touches:
-Use the heat to slightly adjust and secure overlapping petals. Tip: For added stability, stretch the hot petals over the previously placed ones.
-Apply clear coat spray for a glossy finish, if desired.
Congratulations! You've crafted your own Valentine's Rose. Enjoy your unique, handmade flower!
 Tool Head Used : Meteor
 Filament Used : Taulman T-Glase Filament, 2.85mm
![]() STL File - Free Download : Valentine's Rose
STL File - Free Download : Valentine's Rose