
The LulzBot Mini is designed to deliver years of dependable performance. Even the most reliable machines need occasional upkeep. Use these tips to keep your LulzBot Mini in tip-top condition.
3D Printable Backup Component #1 – Large and Small Herringbone Gear
The large and small herringbone gears work together to drive the filament through the extruder and into the hot end. Keep spare large and small herringbone gears on hand for future maintenance needs.

- Download the Small Herringbone Gear and Large Herringbone Gear in STL file format.
- Load the Small Herringbone Gear model into Cura LulzBot Edition and 3D print with ABS filament at 65% infill.
- Remove the completed print and set aside in a safe place for future use.
- Load the Large Herringbone Gear model into Cura LulzBot Edition and 3D print with ABS filament at 74% infill.
- Follow the assembly and installation instructions available at OHAI.LulzBot.com when needed:
- Large Herringbone Gear, Step 12
- Small Herringbone Gear, Step 21
3D Printable Backup Component #2 – Beefy Extruder Idler
Another integral part of your Mini’s tool head is the extruder idler. The extruder idler presses the filament against the hobbed bolt driving the filament through the extruder into the hot end. The new and improved Beefy Idler is a must-have to be prepared for anything. This new idler is featured in our new LulzBot Mini Tool Head v2.1, which also has improved cooling for the heat sink!

- Download the Beefy Idler 3D Model in STL file format.
- Load the model into Cura LulzBot Edition and 3D print with ABS filament at 60% infill.
- Remove the completed print and set aside in a safe place for future use.
- Follow the assembly and installation instructions in step 15 at OHAI.LulzBot.com when needed.
Maintenance Tip #1– Extra Wiper Pads
Great 3D prints start with a perfect first layer. The LulzBot Mini sets the height for the ideal first layer thickness through the Automatic Bed Leveling system. This process uses the tip of the hot end nozzle to complete an electrical circuit on each corner of the print surface. The LulzBot Mini keeps the nozzle clean by wiping it off at the beginning of each bed probing sequence on a specially prepared wiping pad.
Note:
Do not use the metallic hobbed-bolt cleaning brush to clean the nozzle or heater block.Every LulzBot Mini 3D printer includes a comprehensive tool kit and five dual-sided replacement wiping pads.

- Replace this pad when plastic build up is visible on the pad surface and can no longer be picked clean.
- Follow the Wiper Pad Replacement guide at OHAI.LulzBot.com.
- Replace the Wiper Pad Mount if needed.
- Follow the Wiper Pad Mount Replacement guide at OHAI.LulzBot.com.
Maintenance Tip #2– Self-Lubricating Bushings
LulzBot 3D Printers use self-lubricating bushings on each axis to provide smooth, soft movement. These bushings do not need any additional lubricants, but do like to be clean.

- Keep each axis moving quietly by wiping any dust off the smooth rods with a clean dry cloth or paper towel.
- Squeaking noises or axis-specific vibration is a sign that the smooth rods need to be cleaned. Remove any built-up residue with a gentle scrubbing with a green scrub pad.
Maintenance Tip #3– Clean the Hobbed Bolt
Filament is driven into the hot end in the extruder by a hobbed bolt. This bolt is centered within the large 3D printed herringbone gear and uses small teeth to pull filament through the extruder. Included with each LulzBot 3D Printer is a fine metallic brush and a sharp, pointed dental pick. Use these tools to clean the hobbed bolt.

- With the LulzBot Mini powered off, open the extruder idler and lower out of the way.
- Use the fine metallic brush to clean the hobbed bolt teeth.
- Rotate the large 3D printed herringbone gear to expose more teeth.
- If needed, use the dental pick to remove any stubborn impacted filament. Note: The dental pick is sharp.
- A gentle dusting with compressed air will help remove fine dust.
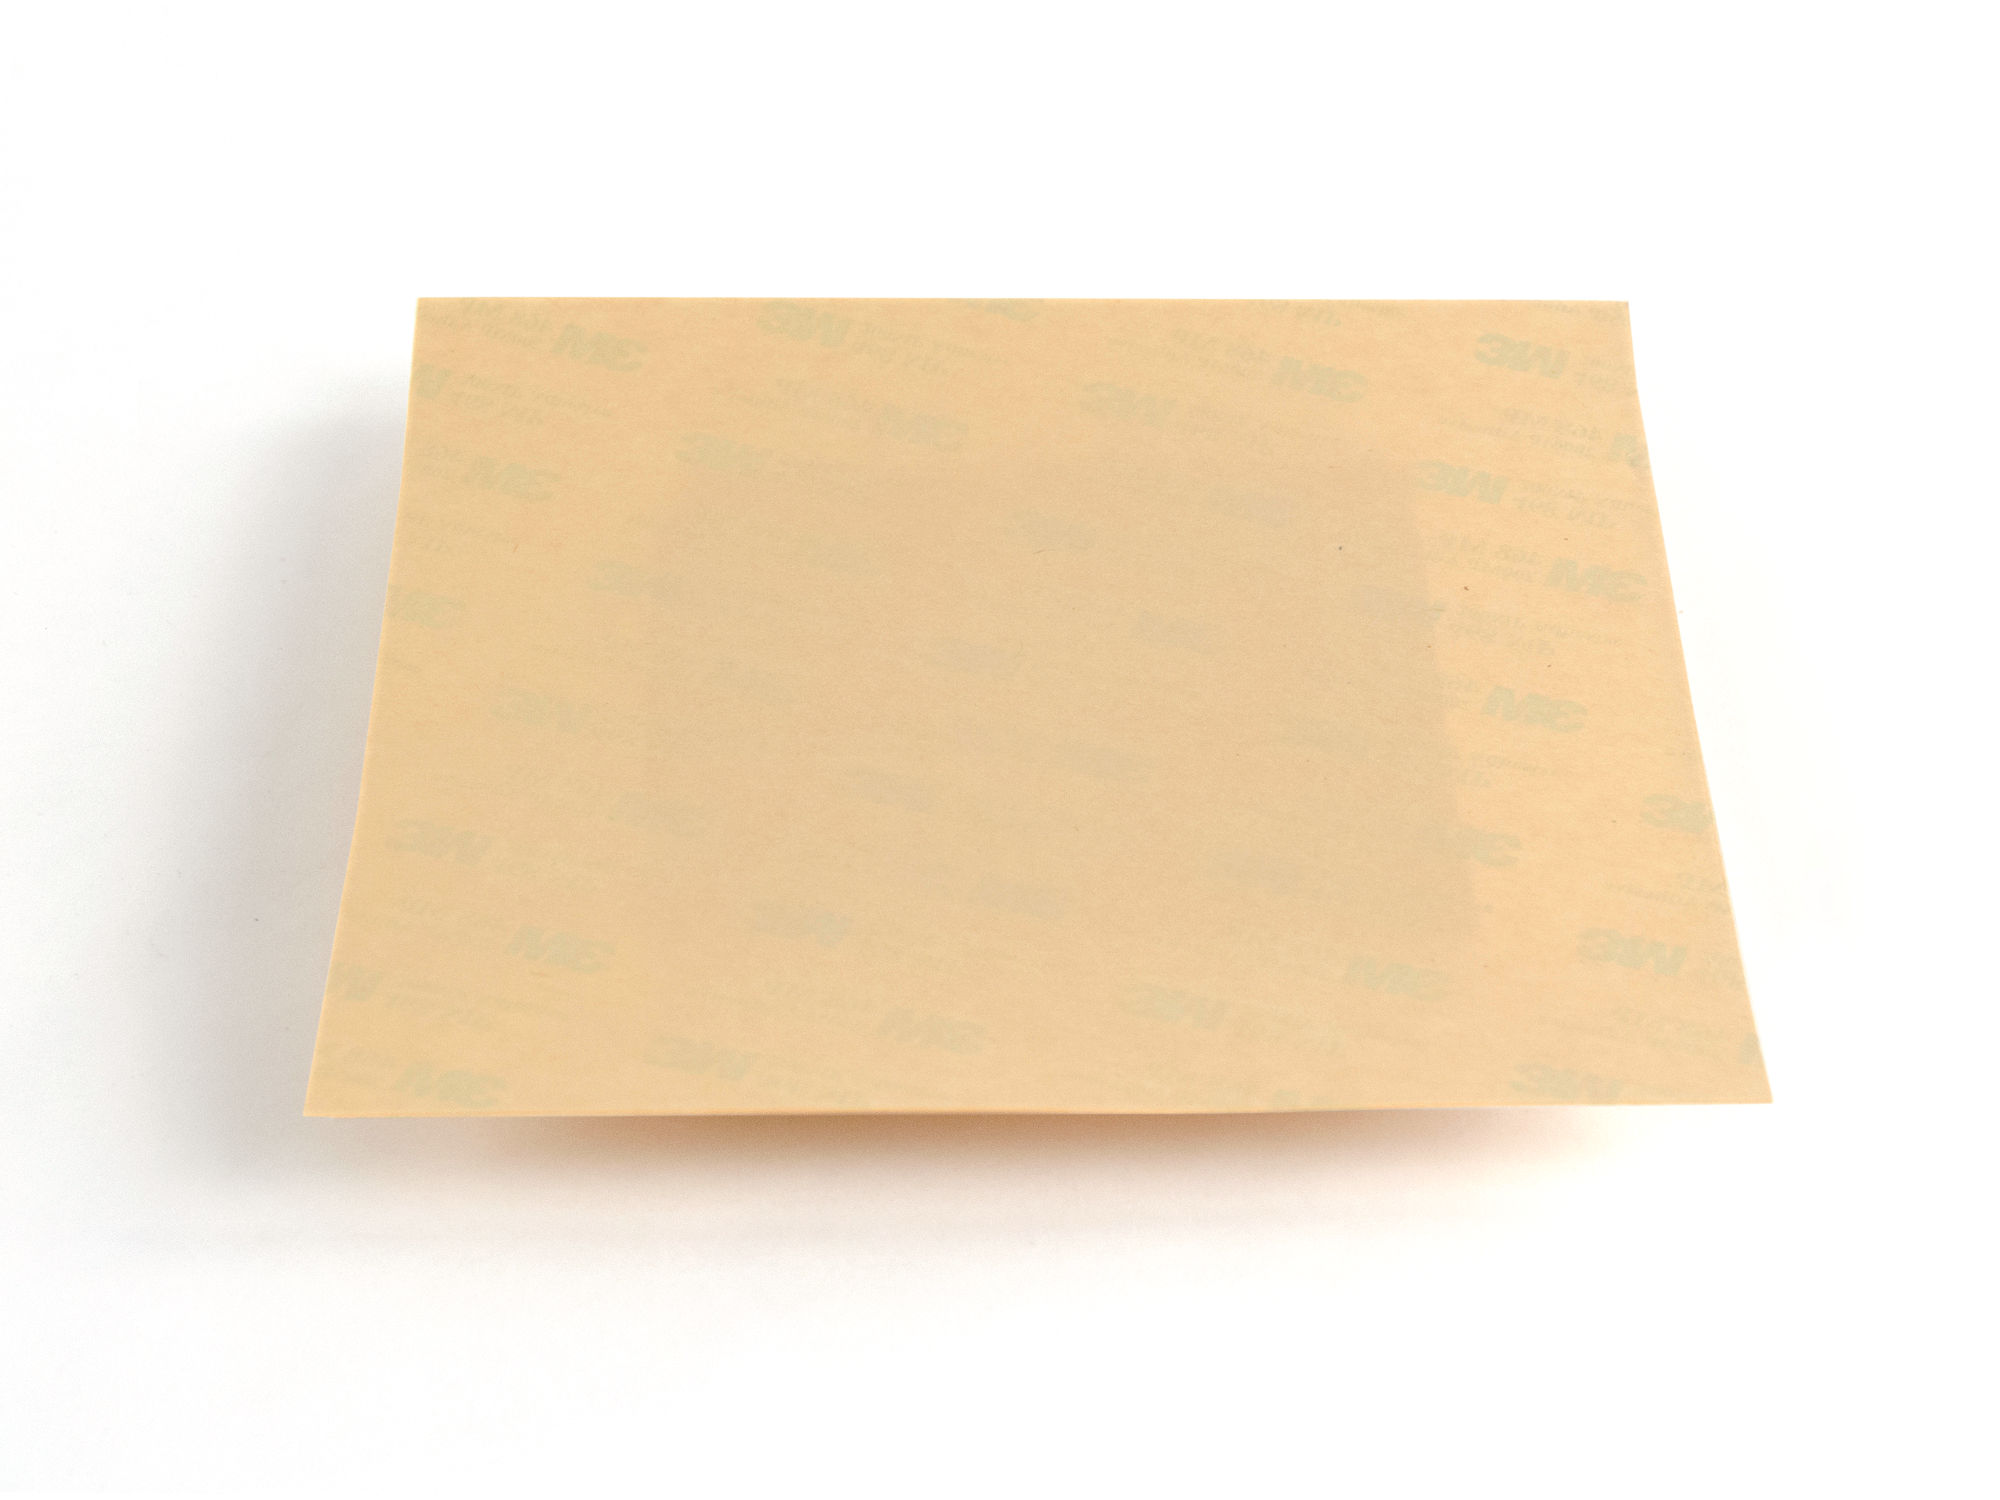
Maintenance Tip #4 – Replacement PEI Sheet
The LulzBot Mini uses a PEI sheet on the heated print surface. While this film is designed to last a very long time, it is a consumable item. Follow the PEI Print Surface: Maintenance guide to refresh and extend the life of your print surface. Replace the PEI sheet when damaged or if the film begins to lift.
Note: Extend the life of your PEI sheet by allowing the print surface to fully cool before removing prints.
- Purchase a replacement LulzBot Mini PEI Sheet.
- Follow the replacement guide at OHAI.LulzBot.com to remove the print bed and replace the PEI sheet.
Maintenance Tip #5 – Update Cura LulzBot Edition
 We are constantly improving our software to provide the best possible print quality and user experience. Download and install the most recent version of Cura LulzBot Edition for new firmware, filament support, print profiles, and more.
Upgrade your 3D printer's firmware after updating Cura LulzBot Edition by following our step by step instructions.