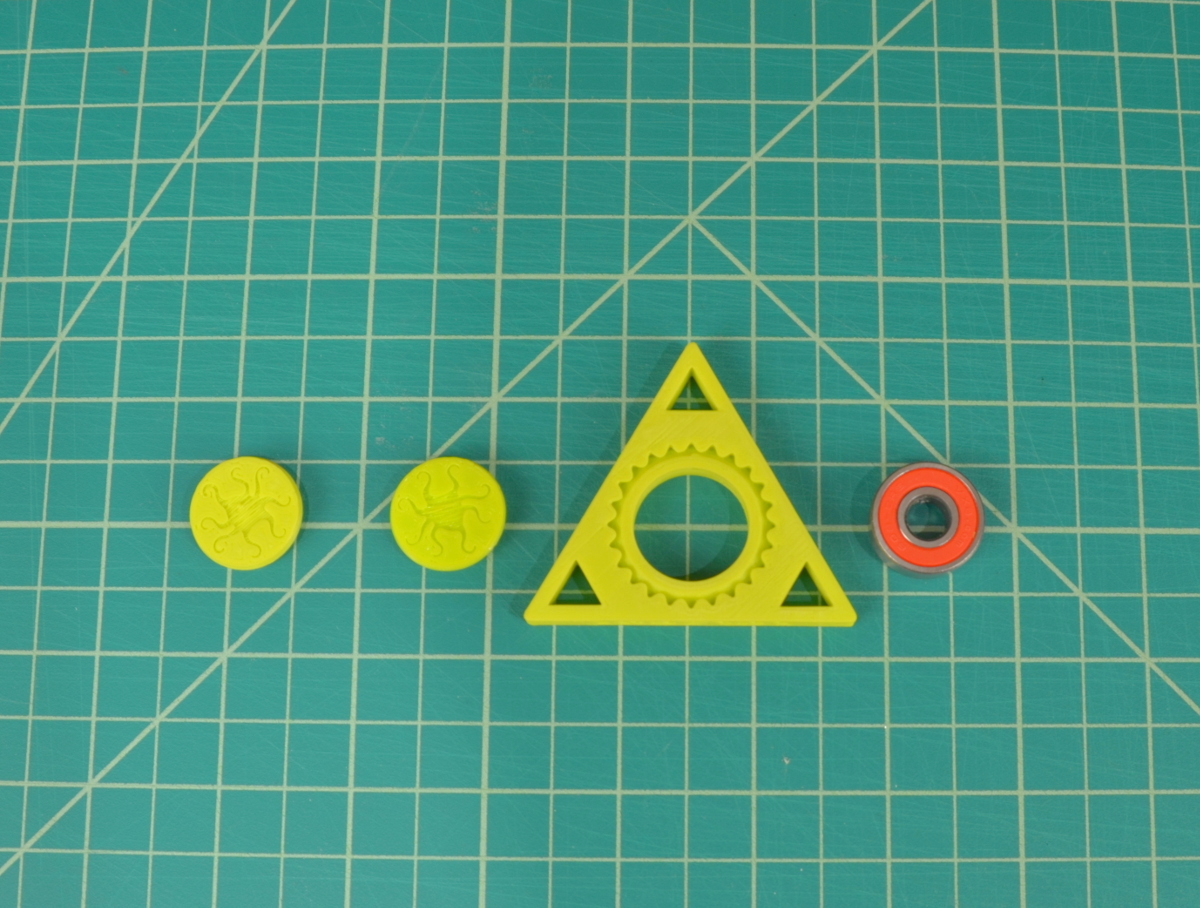
Put your busy fingers to work with the official LulzBot Spinner! This model is designed to showcase overhangs, inset features, and dimensional accuracy. Over 800 of these were assembled by attendees at this year's RAPID + TCT Show in Pittsburgh, PA.
Items Needed
- One (1) 608 bearing
- Computer with Cura LulzBot Edition
- LulzBot 3D Printer
- LulzBot Spinner STL file
- Recommended: Two (2) Tabbed LulzBot Spinner Cap STL file
- Filament!
Want an eye-catching spinner? Use ABS, t-glase, and PolyLite PLA. Use a metallic-blend like bronzeFill, copperFill, or Stainless Steel PLA for extended spin times.
3D Print the Spinner
Download the LulzBot Spinner 3D Model and the Tabbed LulzBot Spinner Cap. The LulzBot Spinner model file contains the spinner and two spinner caps. These two caps give the spinner a gripping point, help provide a base for table-top spins, and are designed to be press fit into the bearing. The recommended Tabbed LulzBot Spinner Cap features a snap fit.
1. Open Cura LulzBot Edition on your computer, and load the LulzBot Spinner 3D model and two Tabbed Spinner Caps. Select the filament material loaded in your LulzBot 3D printer. and your desired print quality.
2. Press Control and start the print if connecting through USB or save the GCODE file to the SD Card if using the Graphical LCD controller.


Assemble the Spinner
3. Once printed, remove the spinner and 2 caps from the print surface and grab the 608 bearing. It's time to assemble!
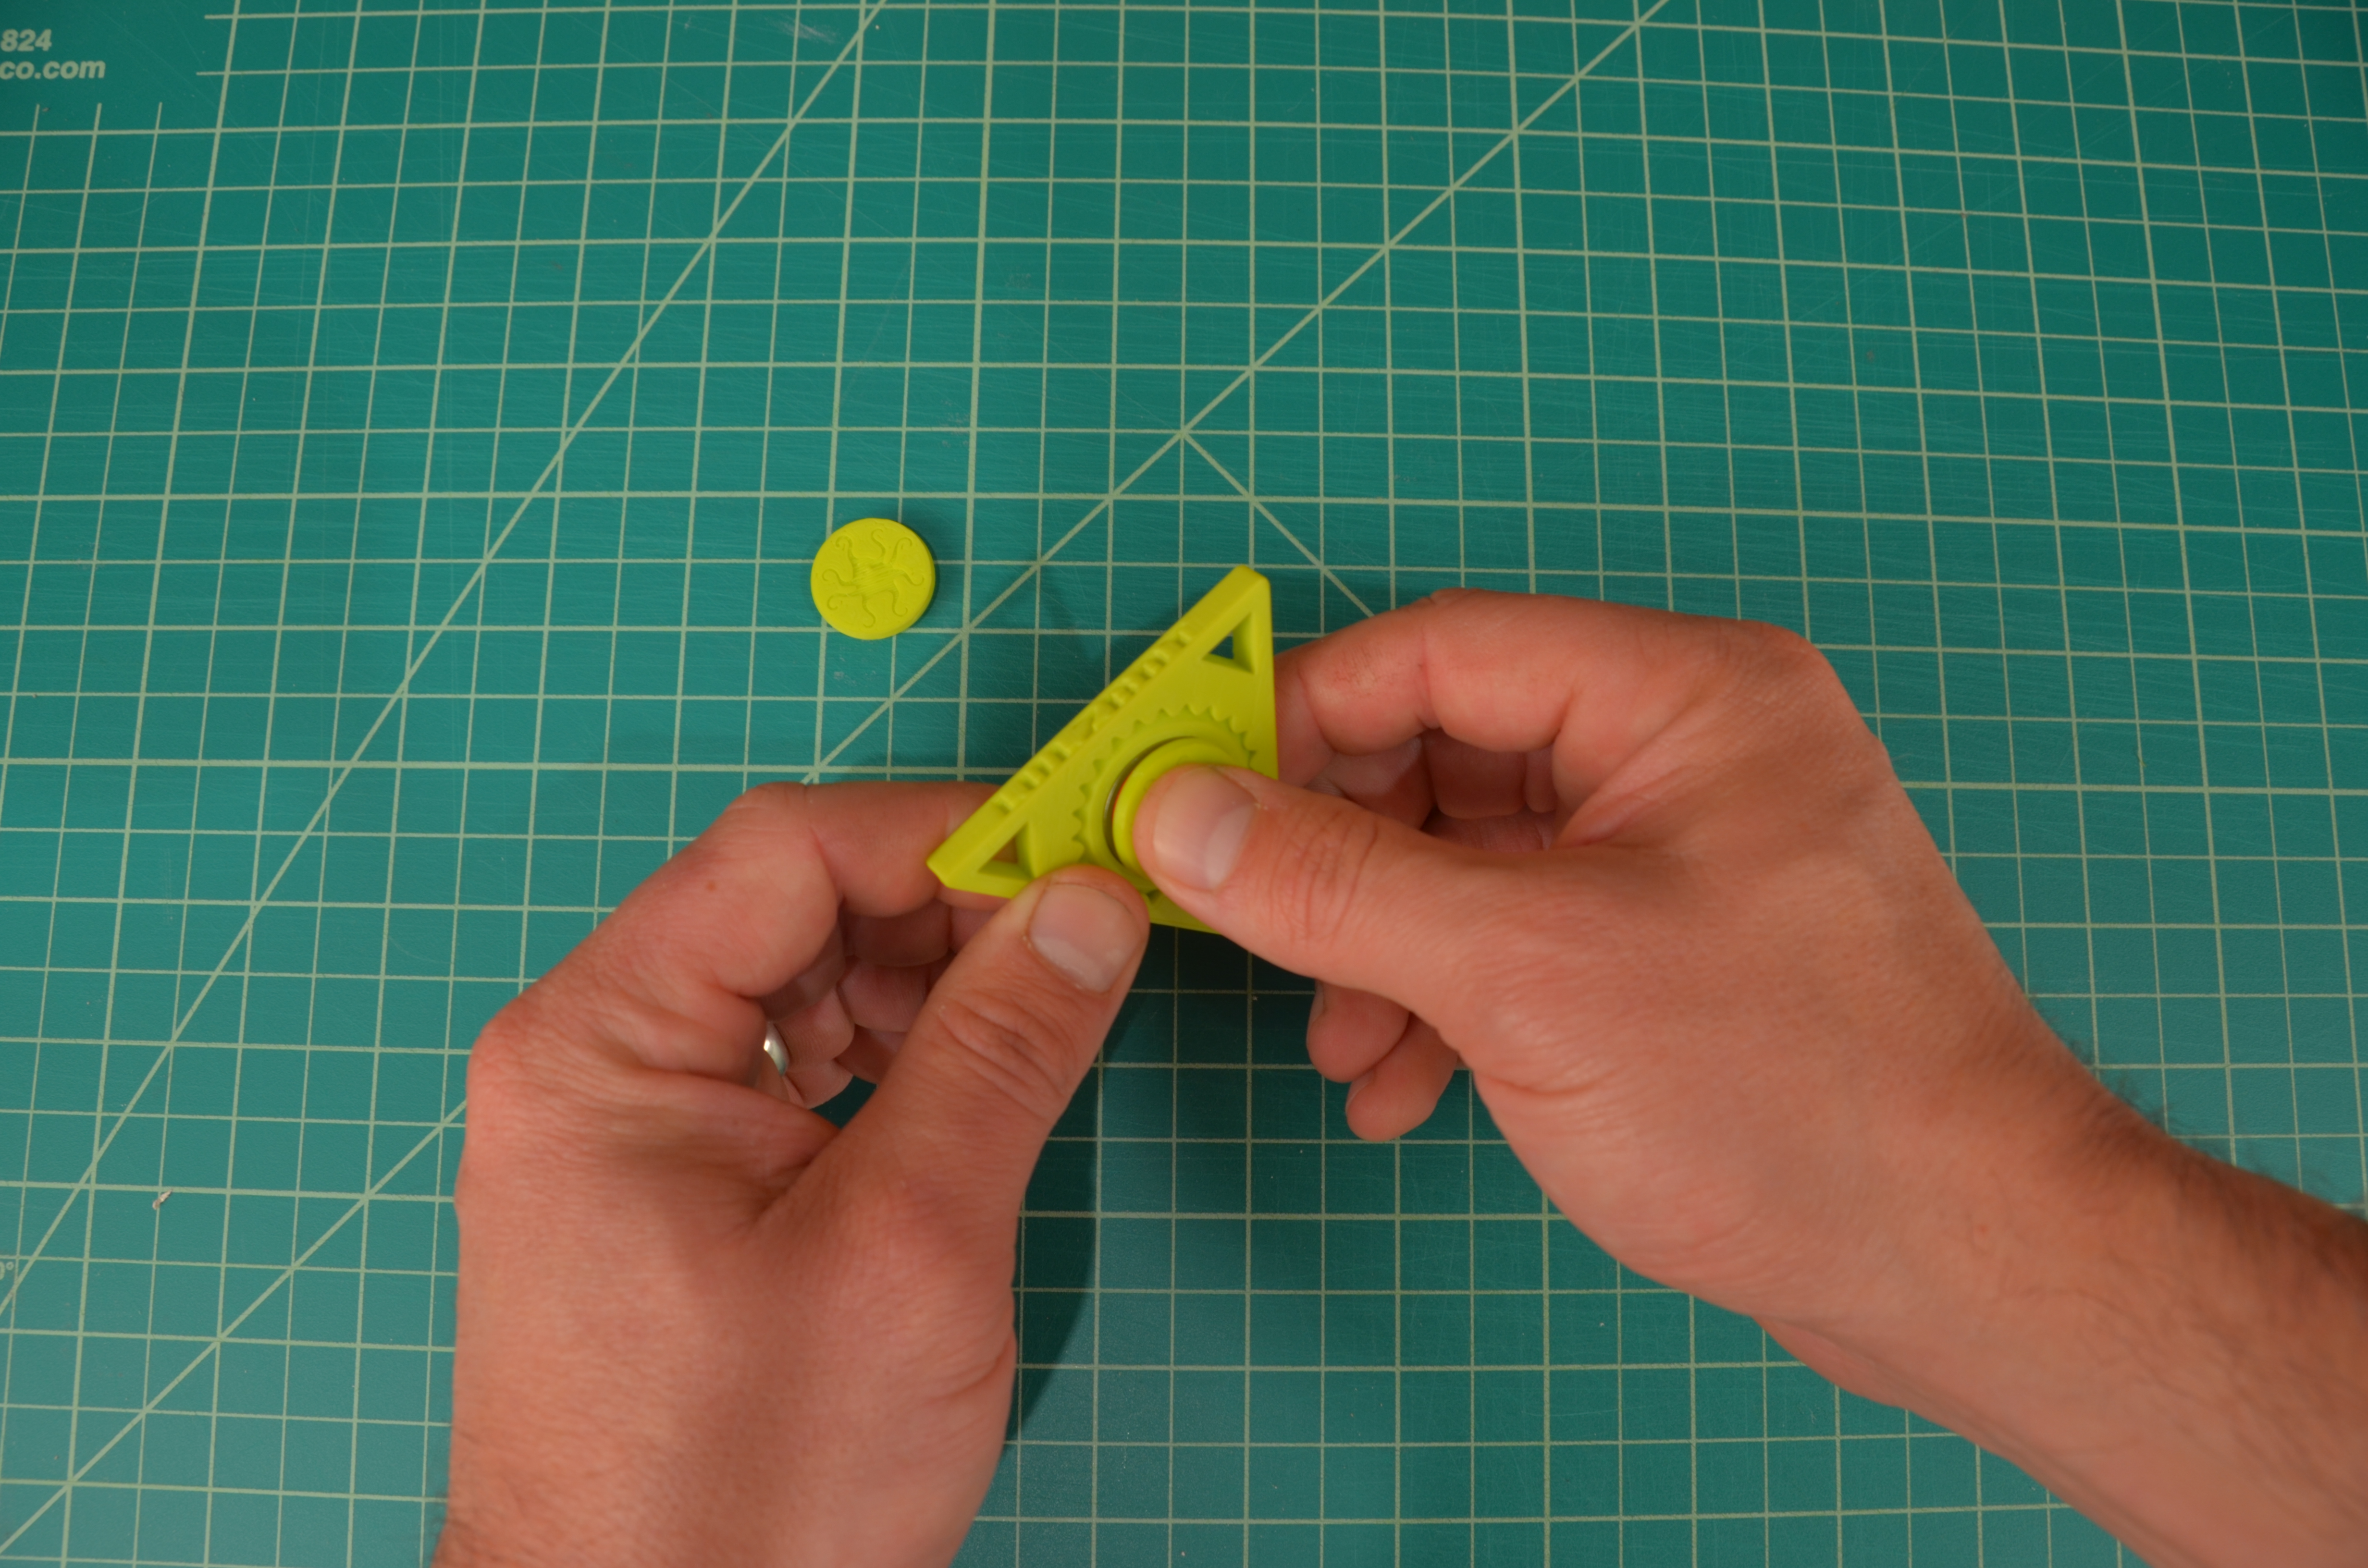
4. Press the bearing into the spinner body firmly and evenly.
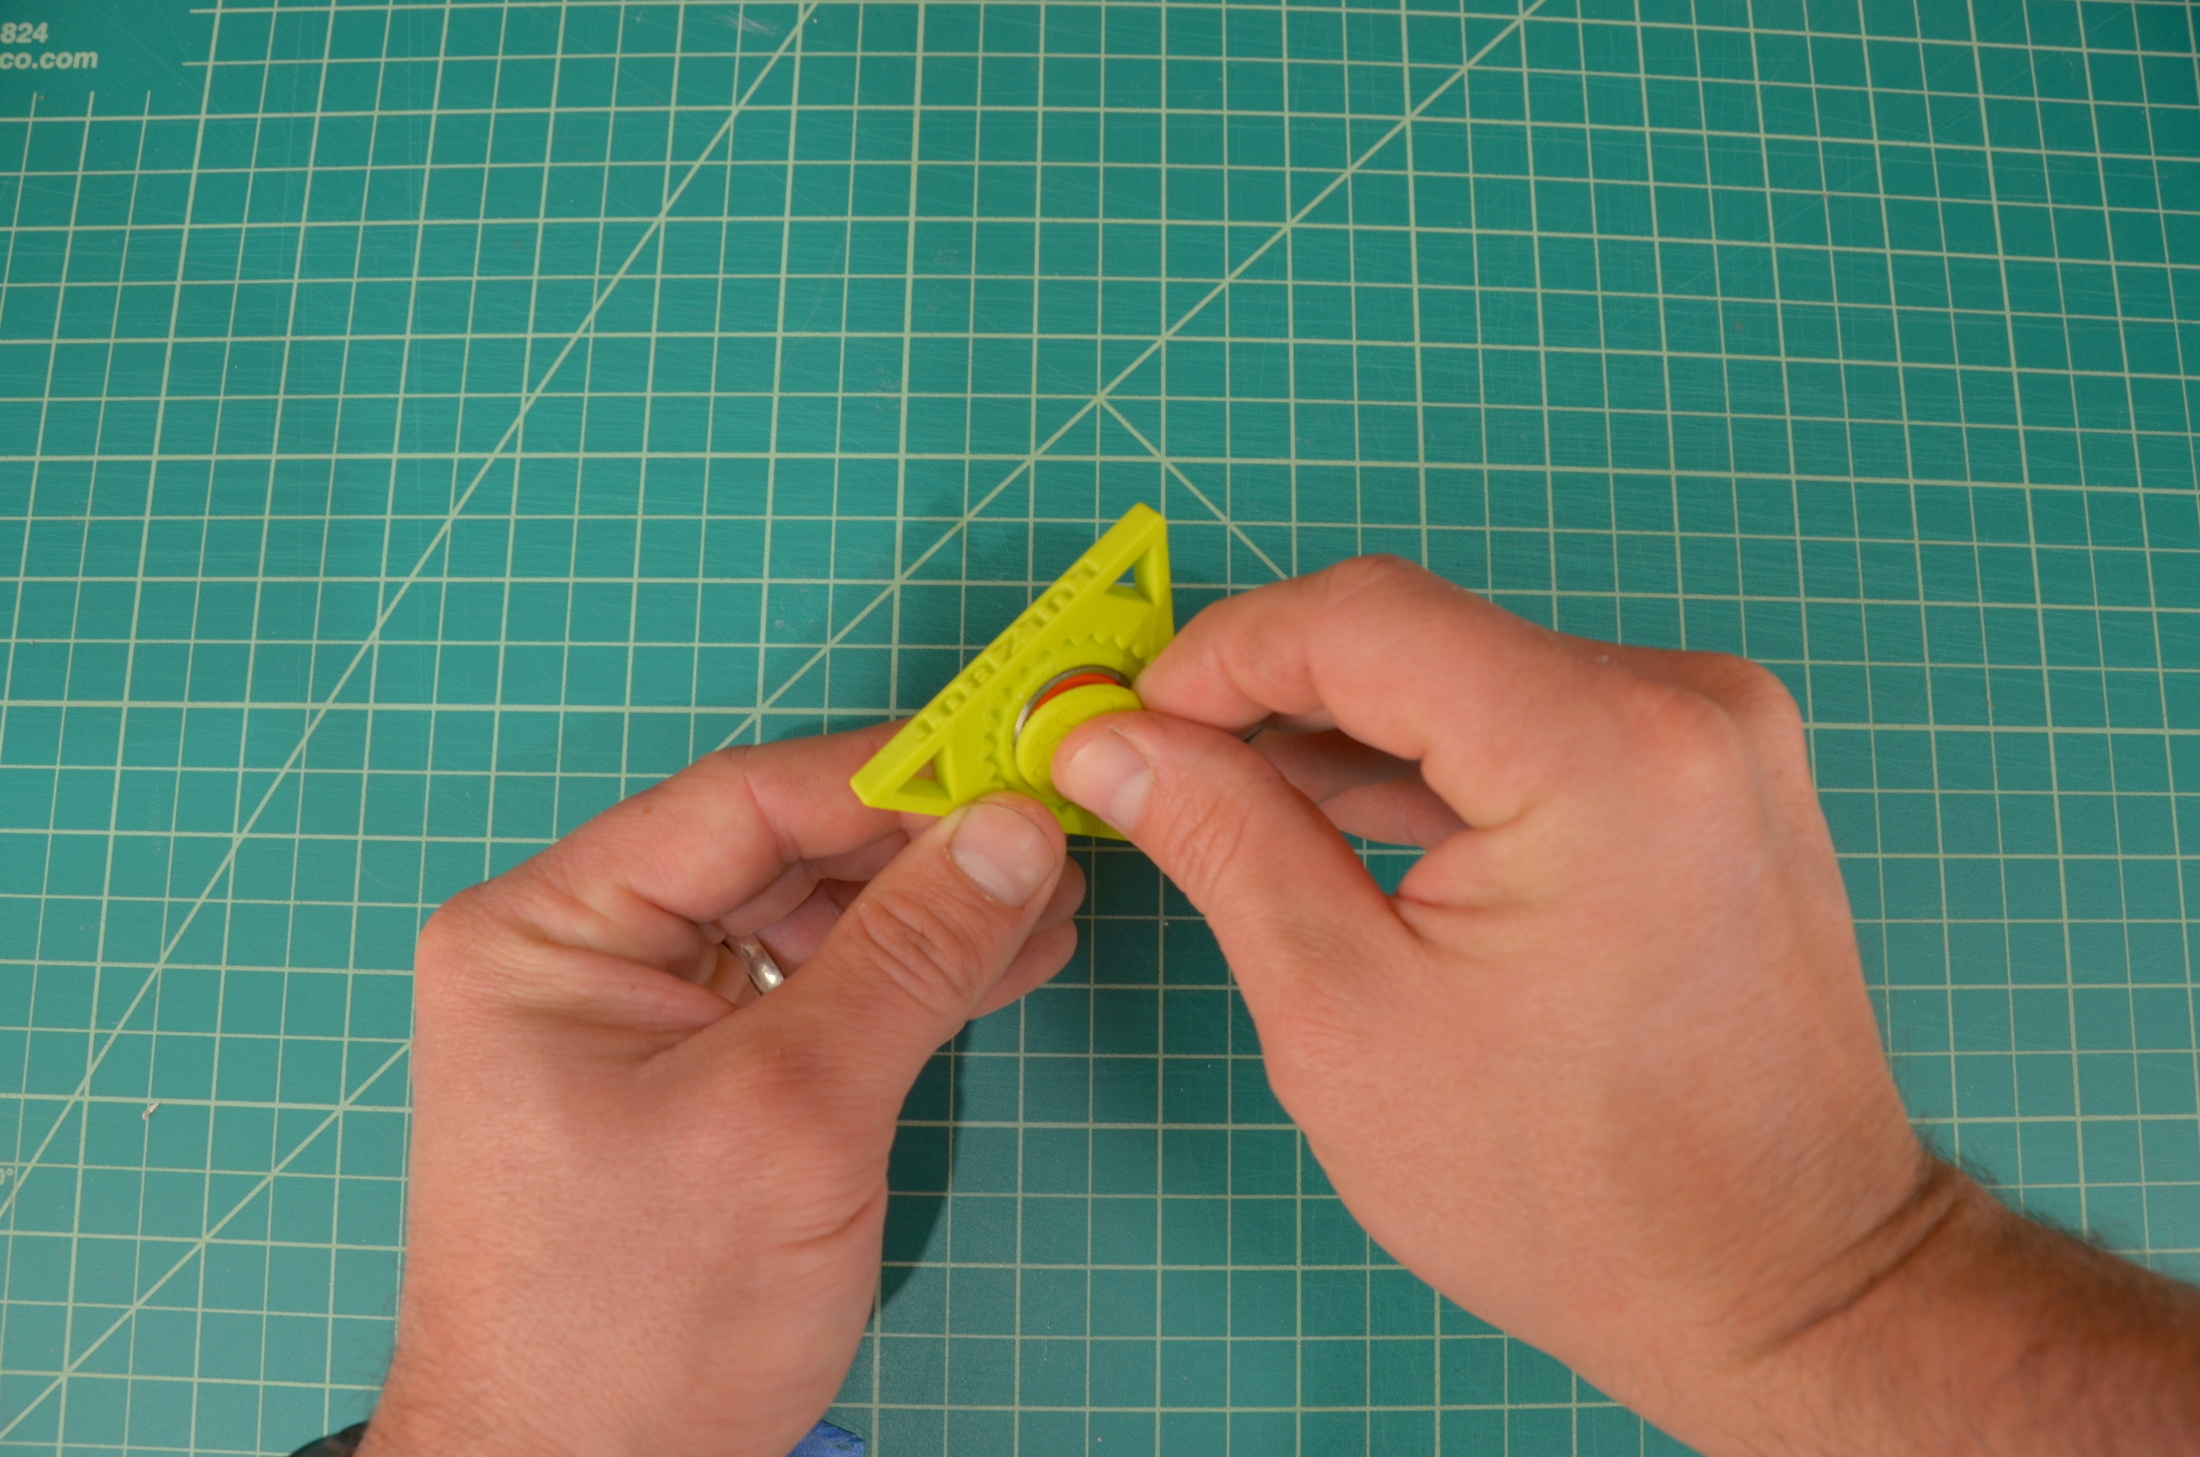
5. Press a cap into the center of the bearing
7. Press the remaining cap into the other side of the bearing
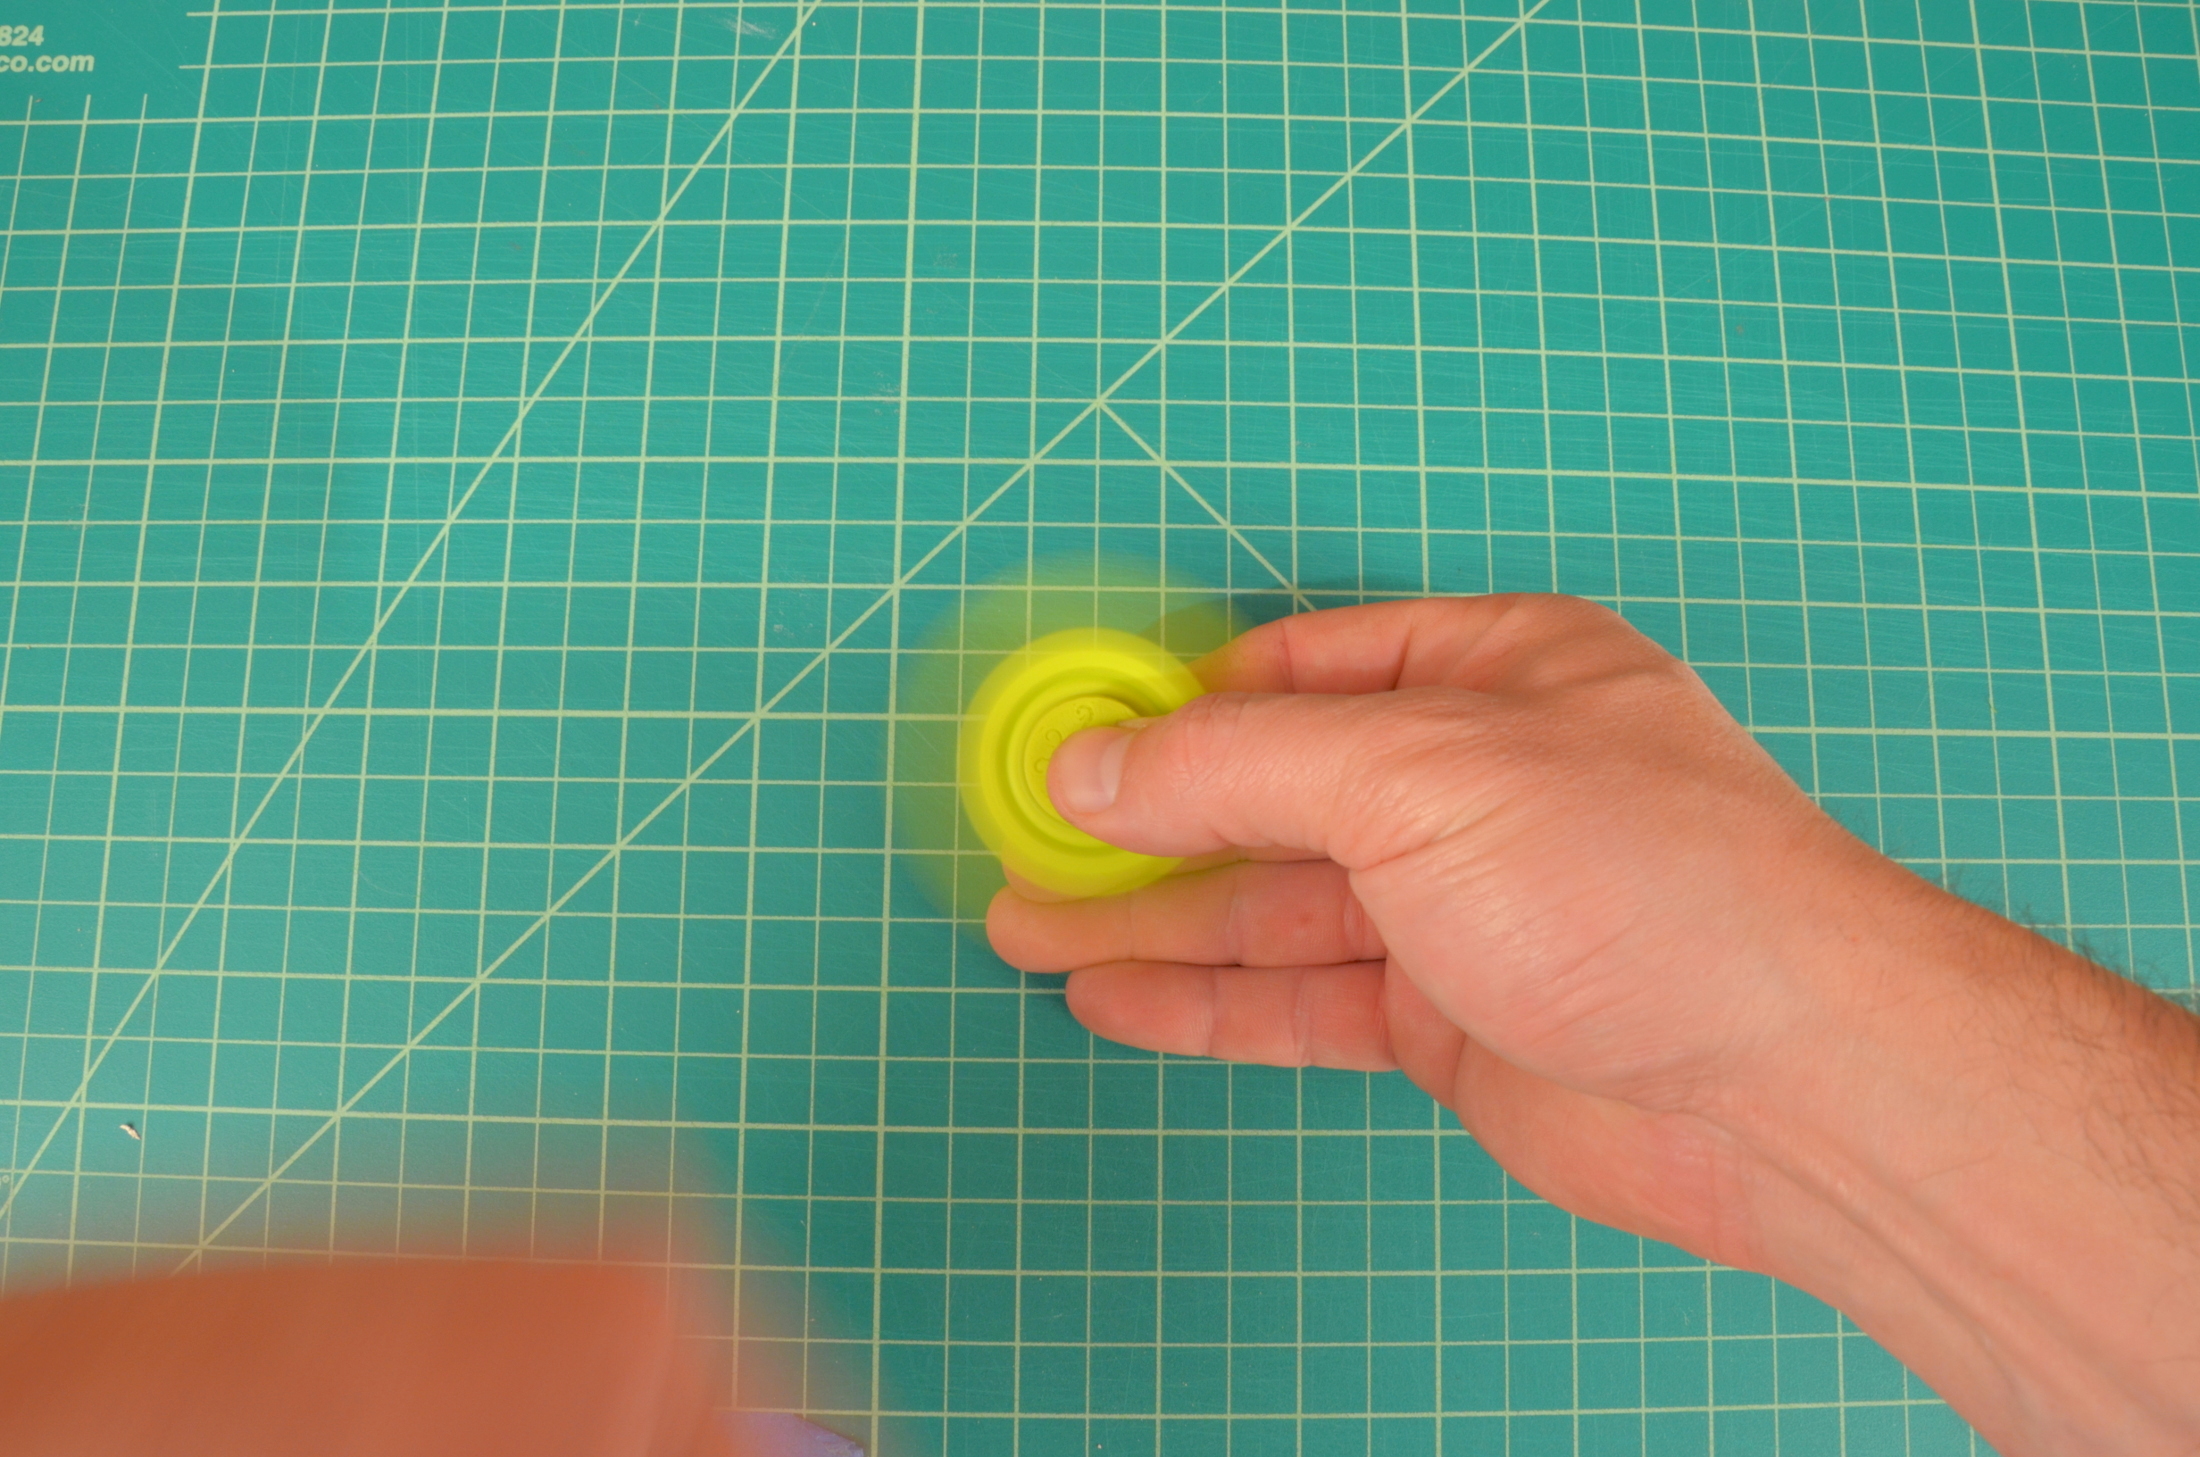
8. Take your new LulzBot Spinner for a spin! Show off your #LulzBot love and tag us on social media.
